Handlebar tape may seem a fiddly job, but you'll find it simple if you follow our illustrated guide.
"Bar tape is hugely personal and can completely change your perception of a bike. It's not only the first thing you see when crawling up a climb, it's a contact point, without a doubt affecting performance in the saddle." Tao Geoghegan-Hart, Team Ineos
Things to remember:
Be precise and firm with the tape. It won't tear or rip easily. Use all the bar tape provided and keep it even. Begin by washing your hands so you don't dirty your fresh tape before you've even begun the task.
Avoid wearing mechanics' latex gloves as you need to feel the tape in your fingers. Make sure that any brake or gear housing is taped firmly to the handlebar with PVC tape, and your bar is free of sticky residue.
1. Get your tools in order.
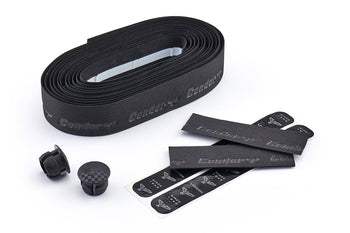
Before unrolling your bar tape, get the finishing strips ready, or cut slim PVC tape into two 5cm pieces. You will also need scissors to hand.
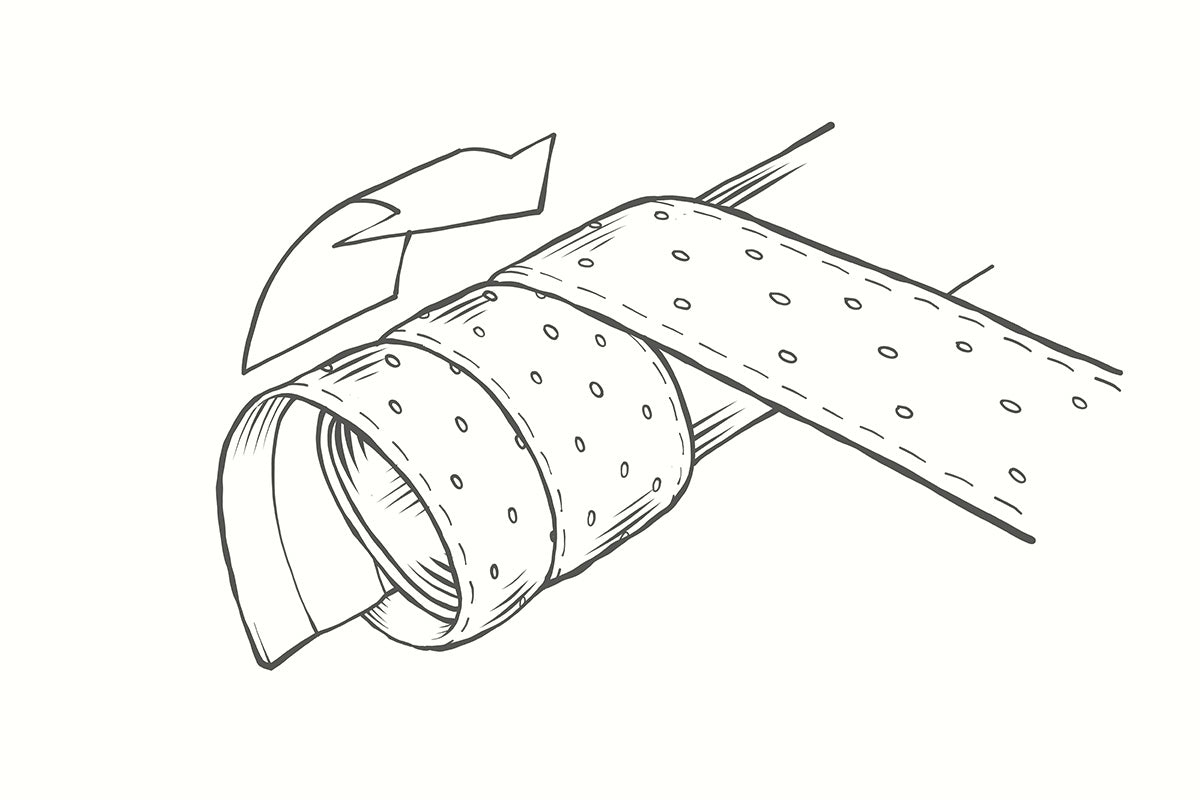
2. Begin the wrap
Start at the bottom of the bar on the right hand drop and overlap half the width of the tape from the end.
This extra tape is stuffed into the end of the bar and finished with a bar plug. It protects you if you fall on the bar and holds the bar plugs in place.
3. Overlap and wrap from the inside out
Wrap from the inside out in a clockwise fashion (for the right hand drop). Overlap the tape by a quarter to a third. Try to keep it as even as possible. That way, the tape will tightened by the grip of your hands. If you wrap anti-clockwise, as you naturally twist your wrist and hands you will loosen or unravel the tape.
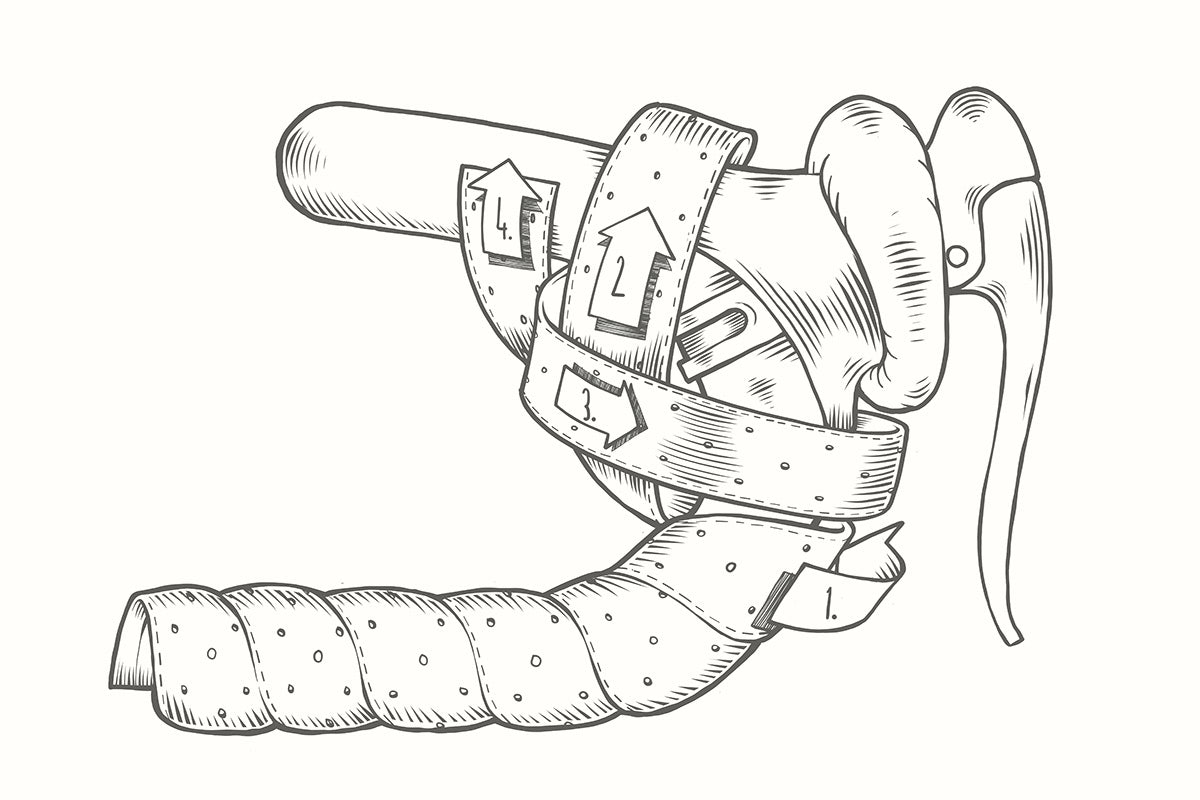
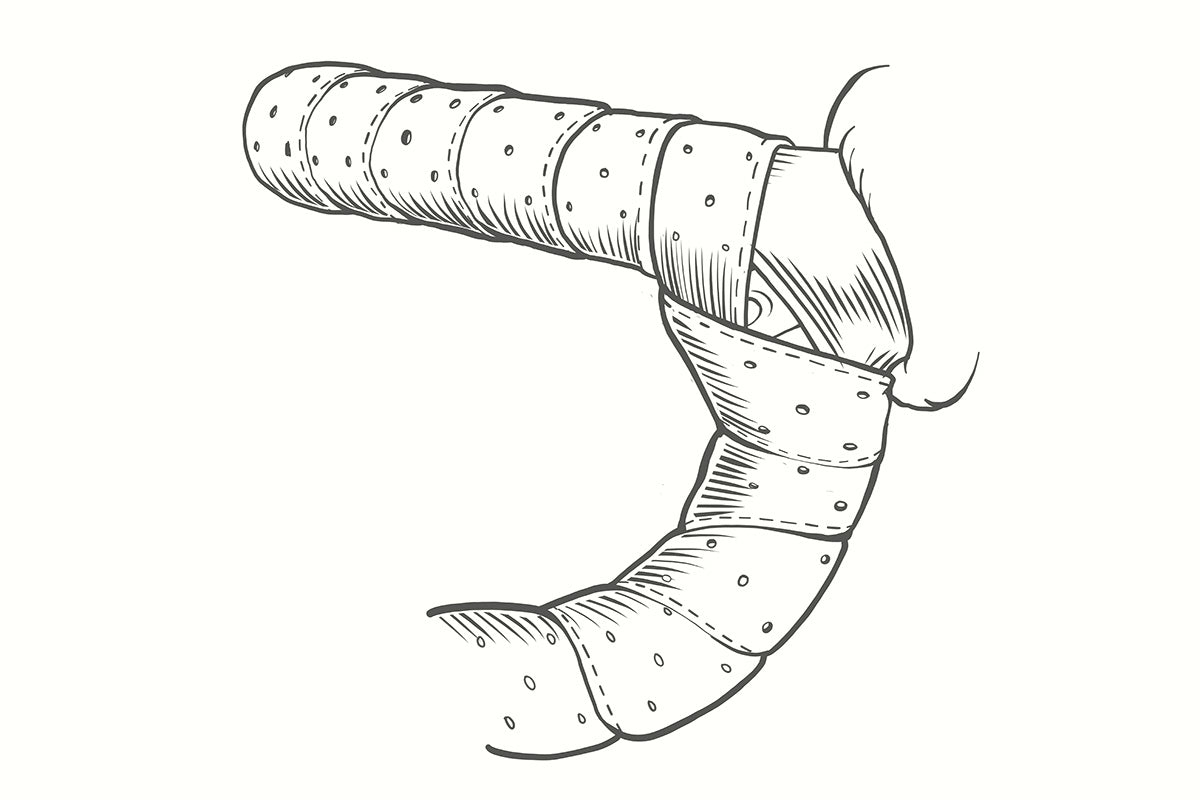
4. The figure of 8 at the hoods
To wrap the tape around your brake hood,s you will need to follow a figure of eight. It will hold the tape more securely.
Roll the rubber of the hoods forward. Take the tape under the lever body and up the inside. Wrap over the top and under the drop. Come back under the lever body to the outside and take the tape back inside the drop and up to the top of the bar.
Roll the hood back to make sure there are no gaps showing and the figure of eight is covering the bar. Don't be afraid to undo and re-wrap so that you get it right.
5. Wrap along the top
Continue wrapping the bar tape from inside to out, in a clockwise fashion as you did before. Remember: try to wrap evening with not too much overlap.
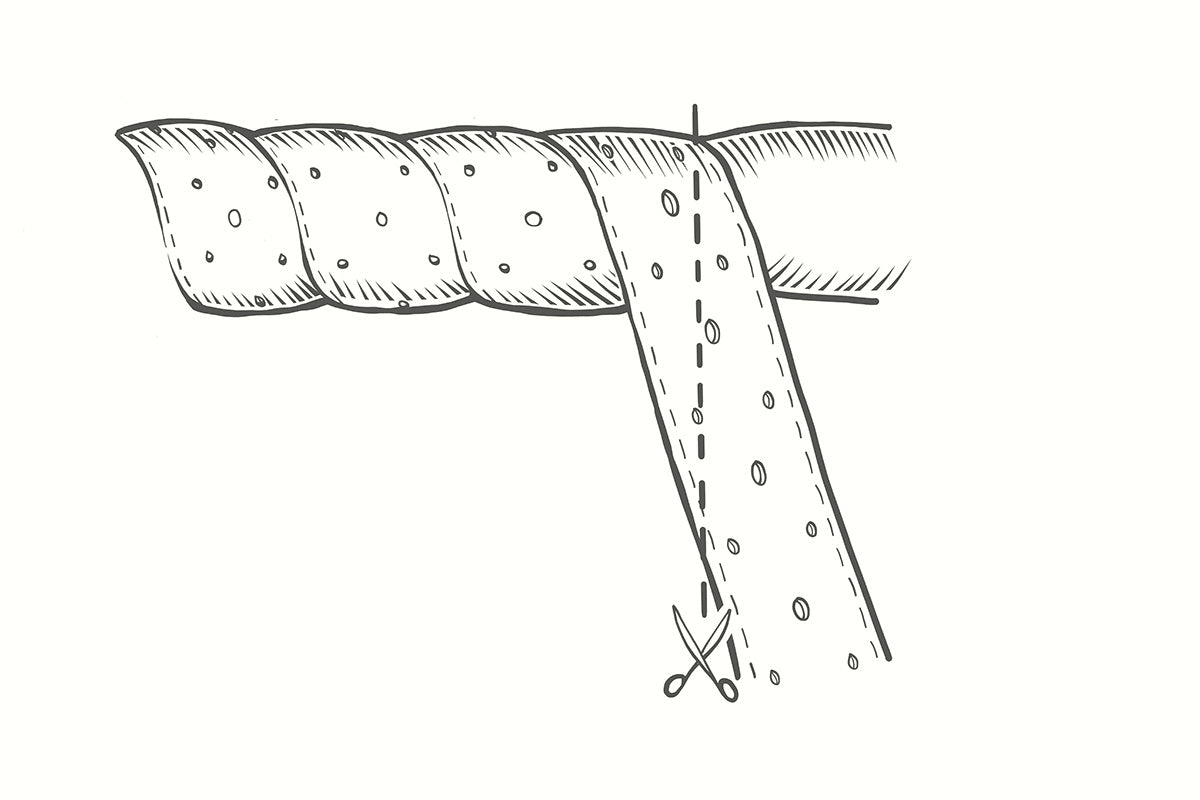
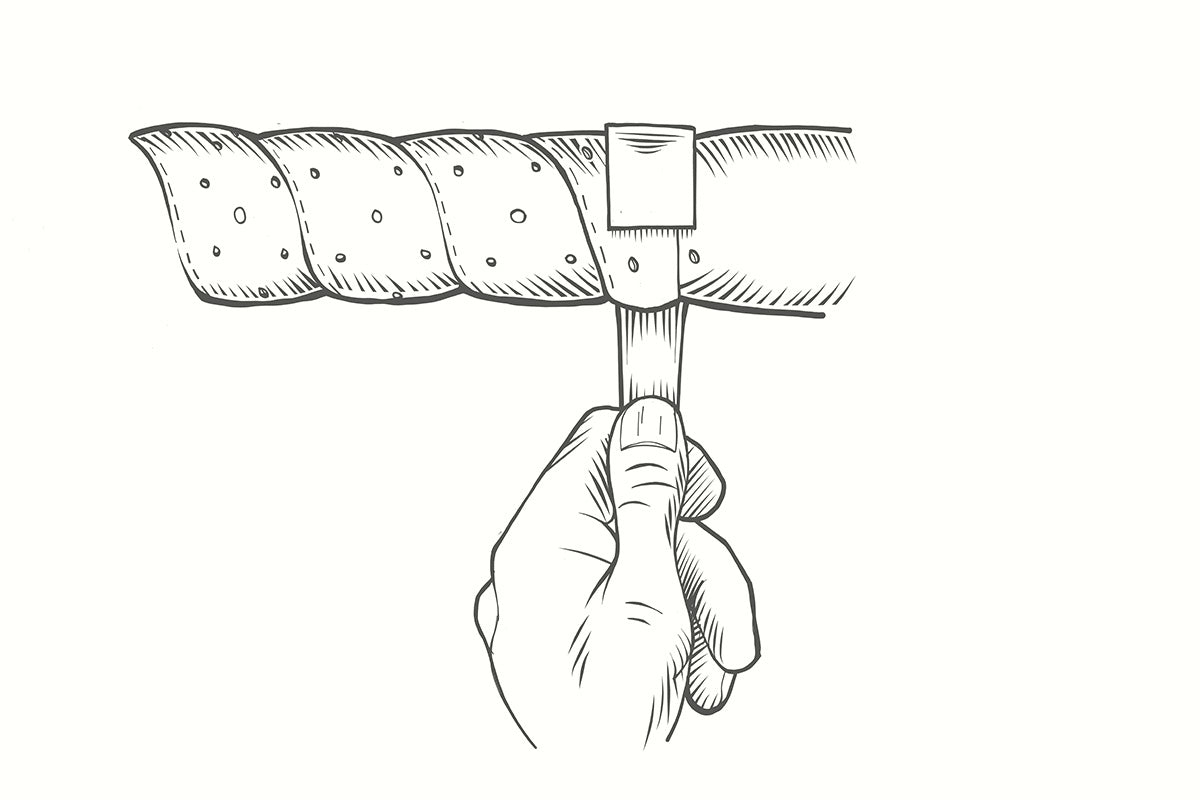
6. Stop at the bulge or where the handlebar gets fatter
Once you reach the bulge of the handlebar or you feel you have only one more rotation left, hold the tape and trim away the excess with a long diagonal cut.
Use the finishing tape supplied in the box or electrical tape to secure the end.
7. Push in the bar end plug and repeat
Repeat for the left hand side of the bar. Remember you are wrapping from the inside of the bar outwards. This will be an anti-clockwise motion.