You might think that gluing a tubular is for pro mechanics only, but our step-by-step guide will show you how to avoid ending up in a sticky mess.

Why tubs?
For over 100 years, ever since John Dunlop invented the sew-up in 1887, riders and mechanics have been gluing tubular tyres to rims. Even with the arrival of the clincher tyre, tubs have remained the de facto choice among the racing fraternity, despite vast improvements in clincher tyre technology, rim shapes and materials.
Tubular tyres, sometimes called tubs, are lighter than the clincher and tubeless alternative, offering a silk like roll on the road. Weight aside, a huge benefit of the tubular system is that it’s virtually impervious to pinch flats. Tubeless tyres have similar benefits and a high rolling resistance, but are filled with sealant, making them much heavier.
Step-by-step
Gluing a tubular road or cyclo-cross tyre is absolutely doable. It is a multi-day process though.
So take your time and if you’re unsure, just ask us.
1. Stretch and pre-shape.
Find an old wheel or rim, and inflate and mount the tyre to it at least two days before you plan to glue them.
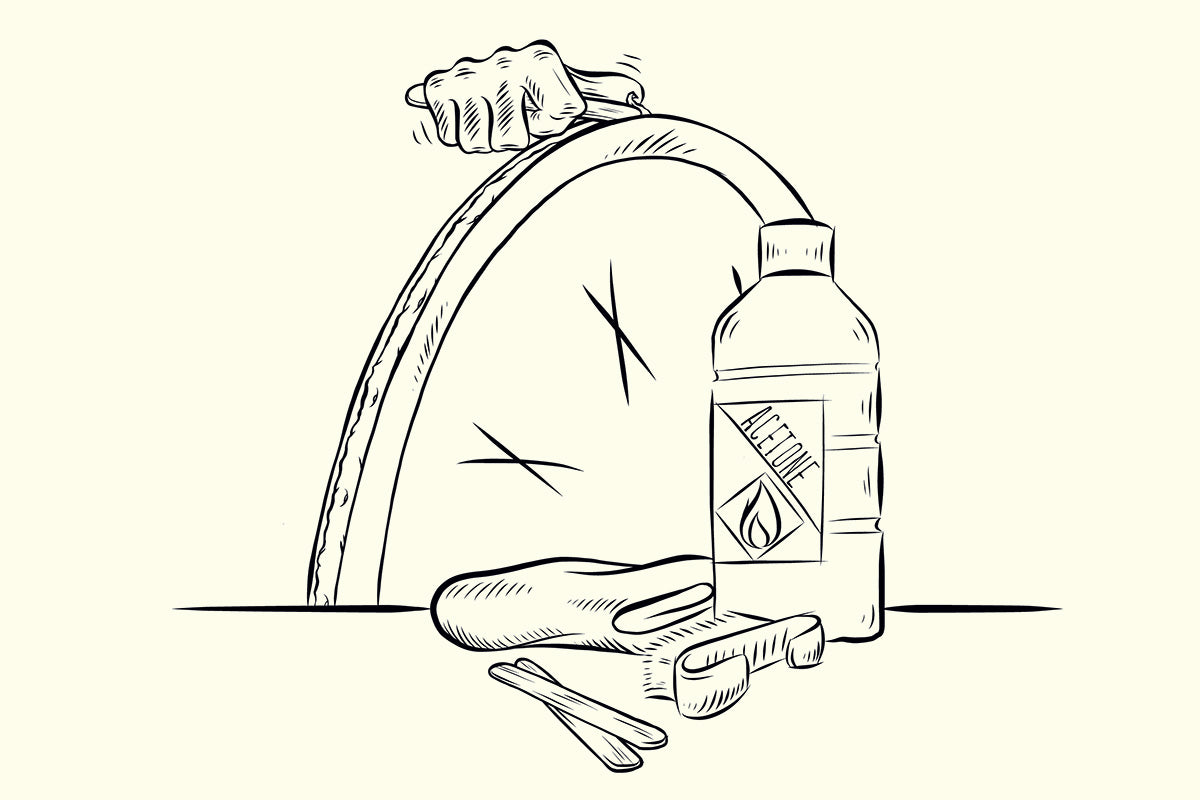
Equipment list
Pump
Craft knife or plastic scraper
Continental Rim Cement
Paint brush
Broom
Cloth
Acetone or nail varnish remover
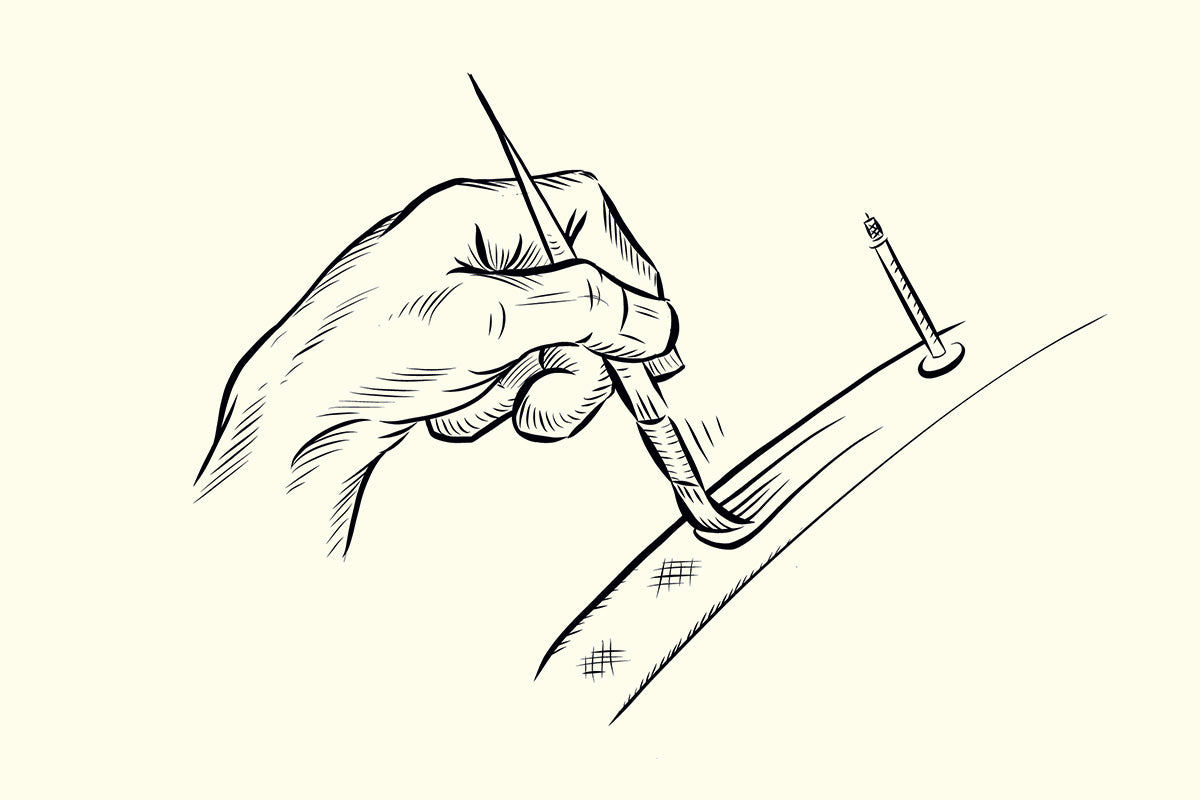
2. Clean the rim of your wheel
If it’s a brand new wheel wipe the rim with acetone the rim to remove any dirt or oil that may stop the adhesive sticking.
If the rim is used, use a blunt craft knife to clean back old crusted glue. A wire brush will help dislodge old residue.
Use a cloth with acetone to wipe off excess. Pay special attention to dirt and grim that may have built up on the edges and this needs to be cleaned back.
You don't need to return the rim to its original state because a light layer of older glue will help the new tyre stick.
Never use paint stripper on carbon rim.
3. Apply the glue
Use a paint brush that is slightly narrower than the rim and apply a layer of glue to the cloth base tape of the tyre. Hang the tyre in a dust free room to dry. This will take between 12 to 24 hours.
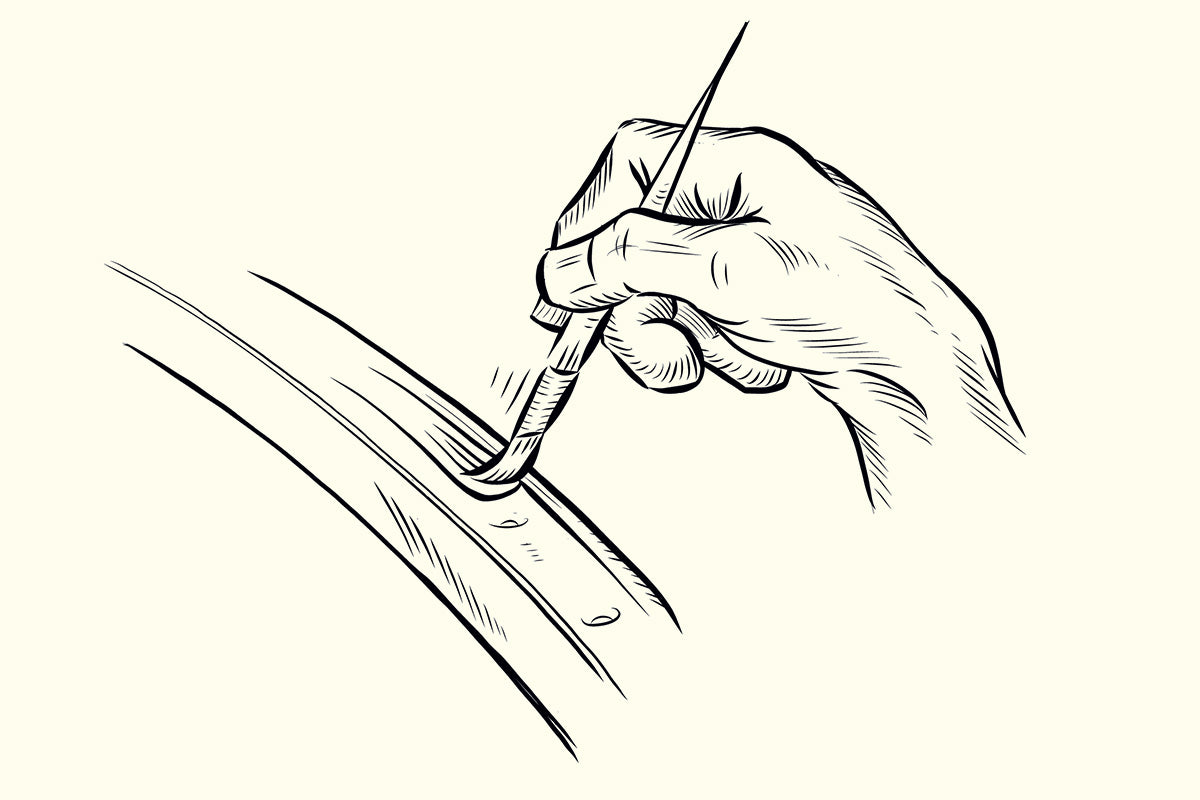
4. Add more layers
Follow the process until you have built up three layers of glue.
Pro Tip: keep your brush in a small bottle of solvent to avoid needing to clean it and stop the glue from drying and hardening the bristles.
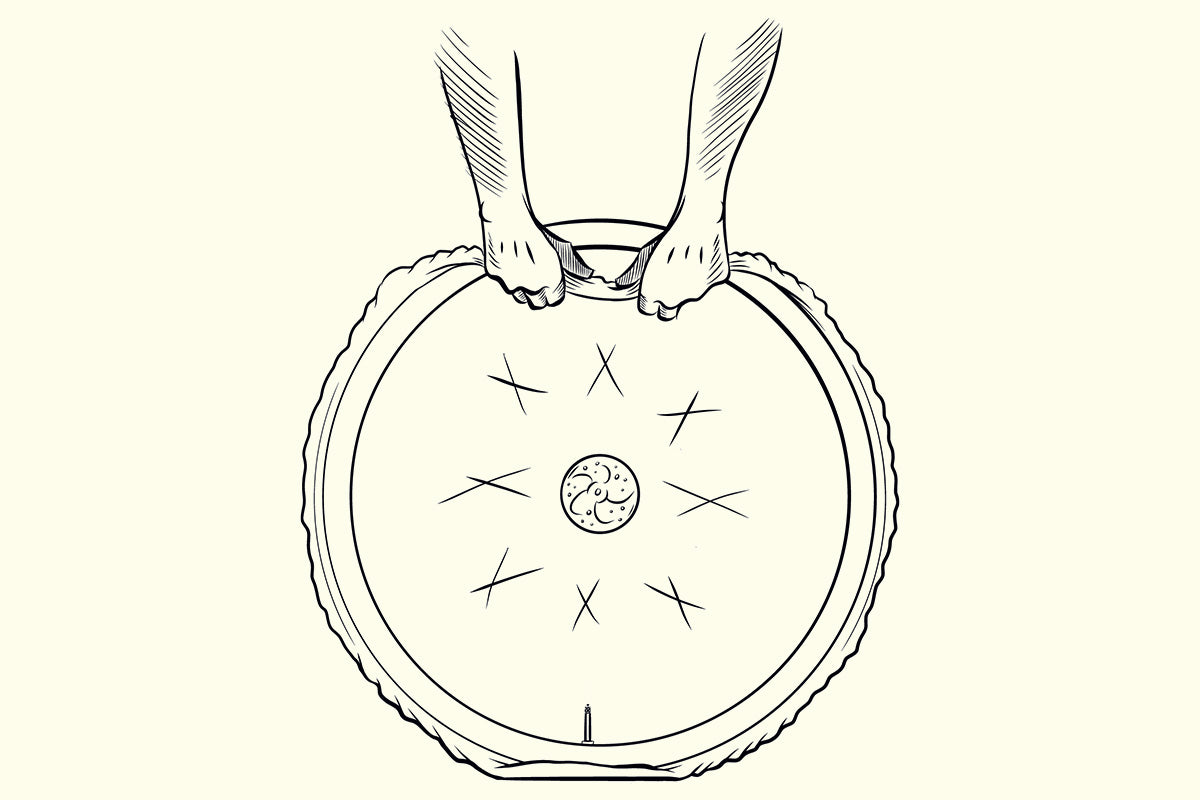
5. Fit the tyre
Be prepared to work quickly.
Check the direction of the tyre, inflate the tyre to give it shape; 5–15 psi will be enough.
Apply a layer of glue to the rim. Wait 60 seconds so the glue becomes tacky.
Put the tyre valve through the valve hole, put the tyre on the floor with the valve opposite you and work the tyre onto the rim, stretching it upwards to fit.
Pro Tip: working from the bottom to the top means the glue isn't exposed to the floor and won't pick up dirt, plus you get more leverage to stretch the tyre onto the rim.
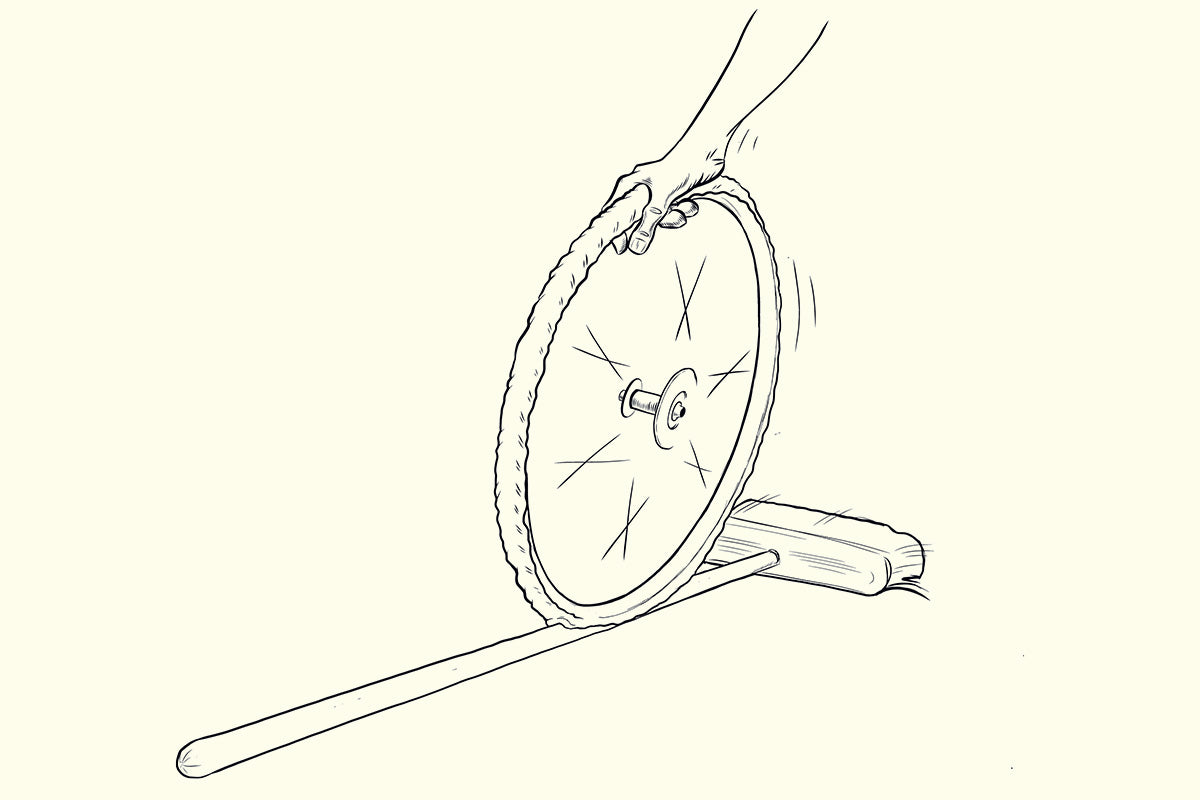
6. Straighten the tyre
Once the tyre is on the rim, check it is straight. The base tape should be even and centred on the rim. Manipulate the tyre, by pulling and moving it to seat it.
Pro Tip: once the tyre is straight, place a broom handle on the floor and roll the wheel and tyre along it. This will push the base tape up into the well of the rim and ensure good contact.
7. Leave it to cure
Check you have sticky glue running all the way round the rim and dry sections of rim. Pump up the tyre to 100 psi and allow the tyre to cure for 24 hours before use.